Process Guide
The 3D Boat Design Process
A technical, end-to-end walkthrough of the 3D boat design process — how a naval architect's sketch becomes a watertight 3D model, resolved materials, an open-ocean lighting setup, and a final cinematic sea-trial animation that boat builders and designers can actually sell from.
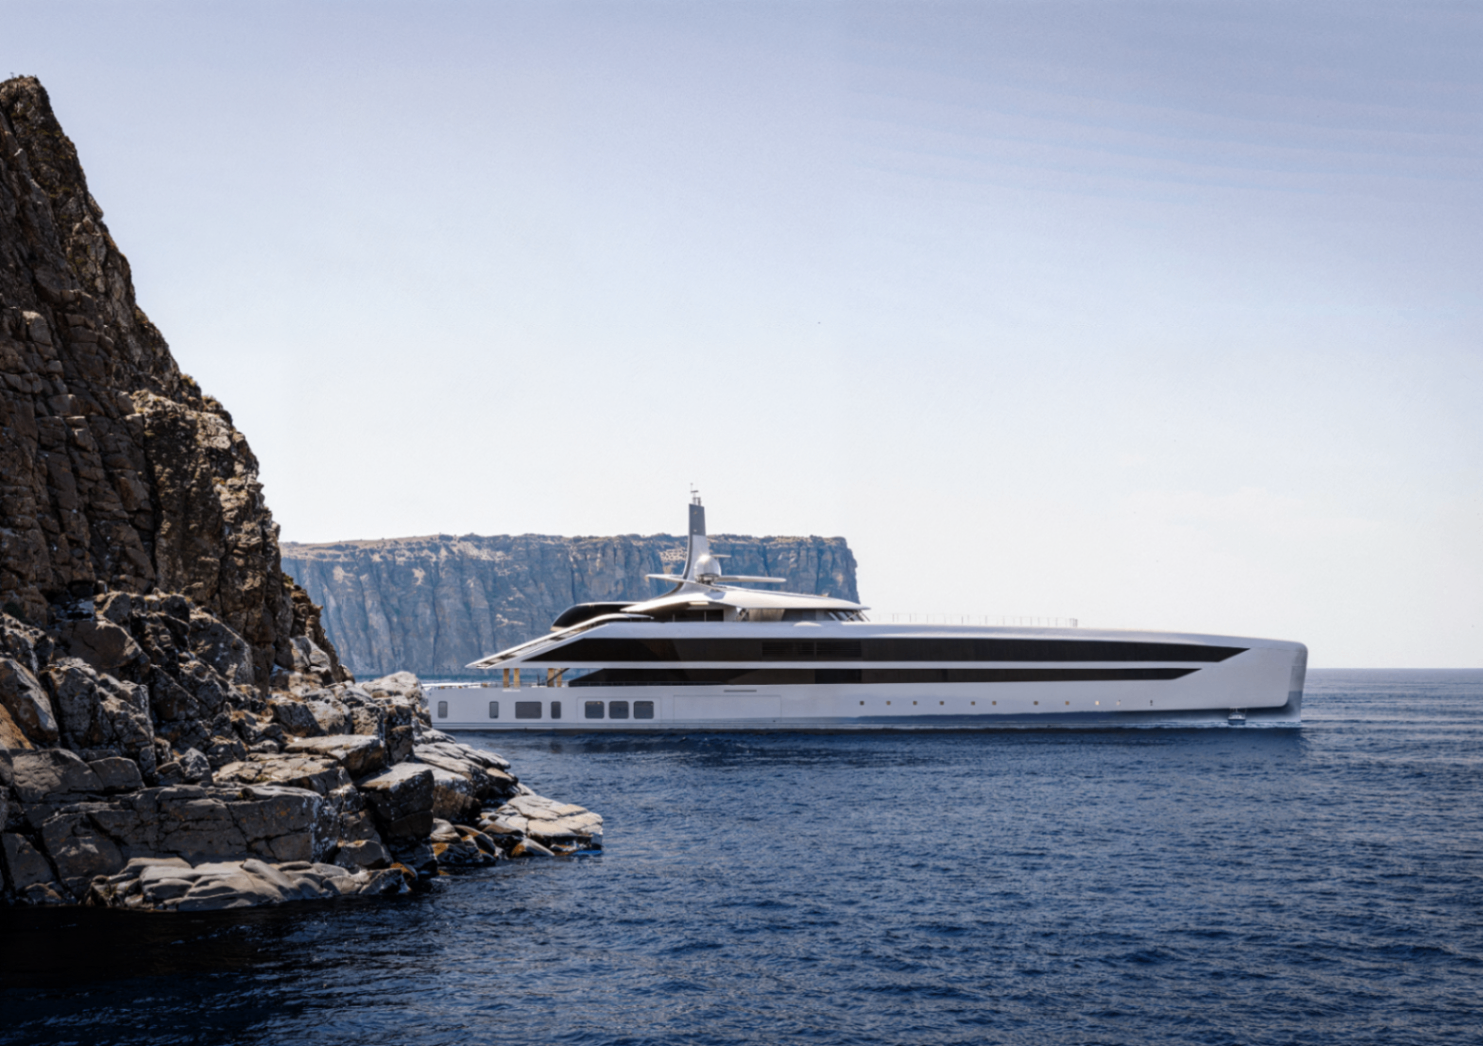
The last stage of the 3D boat design process — a hero frame produced from CAD, resolved materials, and a matched open-ocean environment.
The 3D boat design process is a chain of decisions that translate a naval architect's intent into a photorealistic asset. For custom boat builders, small shipyards, and design studios, understanding each stage matters — every decision upstream affects the accuracy, cost, and cinematic quality of the final render or animation.
Step 1 — CAD Sketches and Design Intent
The 3D boat design process starts long before the render. It begins with the designer's CAD sketches, lines plan, and general arrangement. At this stage the vessel exists as intent: hull form, sheer line, deck flow, cabin volumes, and a materials mood board. A rendering studio steps in as soon as the primary surfaces are stable enough to build against.
A clean CAD handoff — Rhino, SolidWorks, CATIA, or a Revit export — accelerates every step that follows. Where the CAD is incomplete, we work directly from 2D lines plans and profile drawings, rebuilding surfaces in-house against the naval architect's dimensions.
Step 2 — Hull Modelling and Surface Resolution
The next step in the 3D boat design process is building a watertight 3D model of the hull, superstructure, and deck. This is where the vessel becomes a real object. Every fair curve, chine, and window cutout has to match the original design geometry — a subtle deviation in the sheer or bow flare will read as "wrong" in the final render even if the viewer cannot name why.
For custom boats and superyachts alike, we split the model into layered subsystems: hull, superstructure, deck hardware, railings, glazing, and interior volumes. That structure lets the studio iterate on the finish without breaking the naval architect's core geometry.
Step 3 — Material Resolving and Physical Accuracy
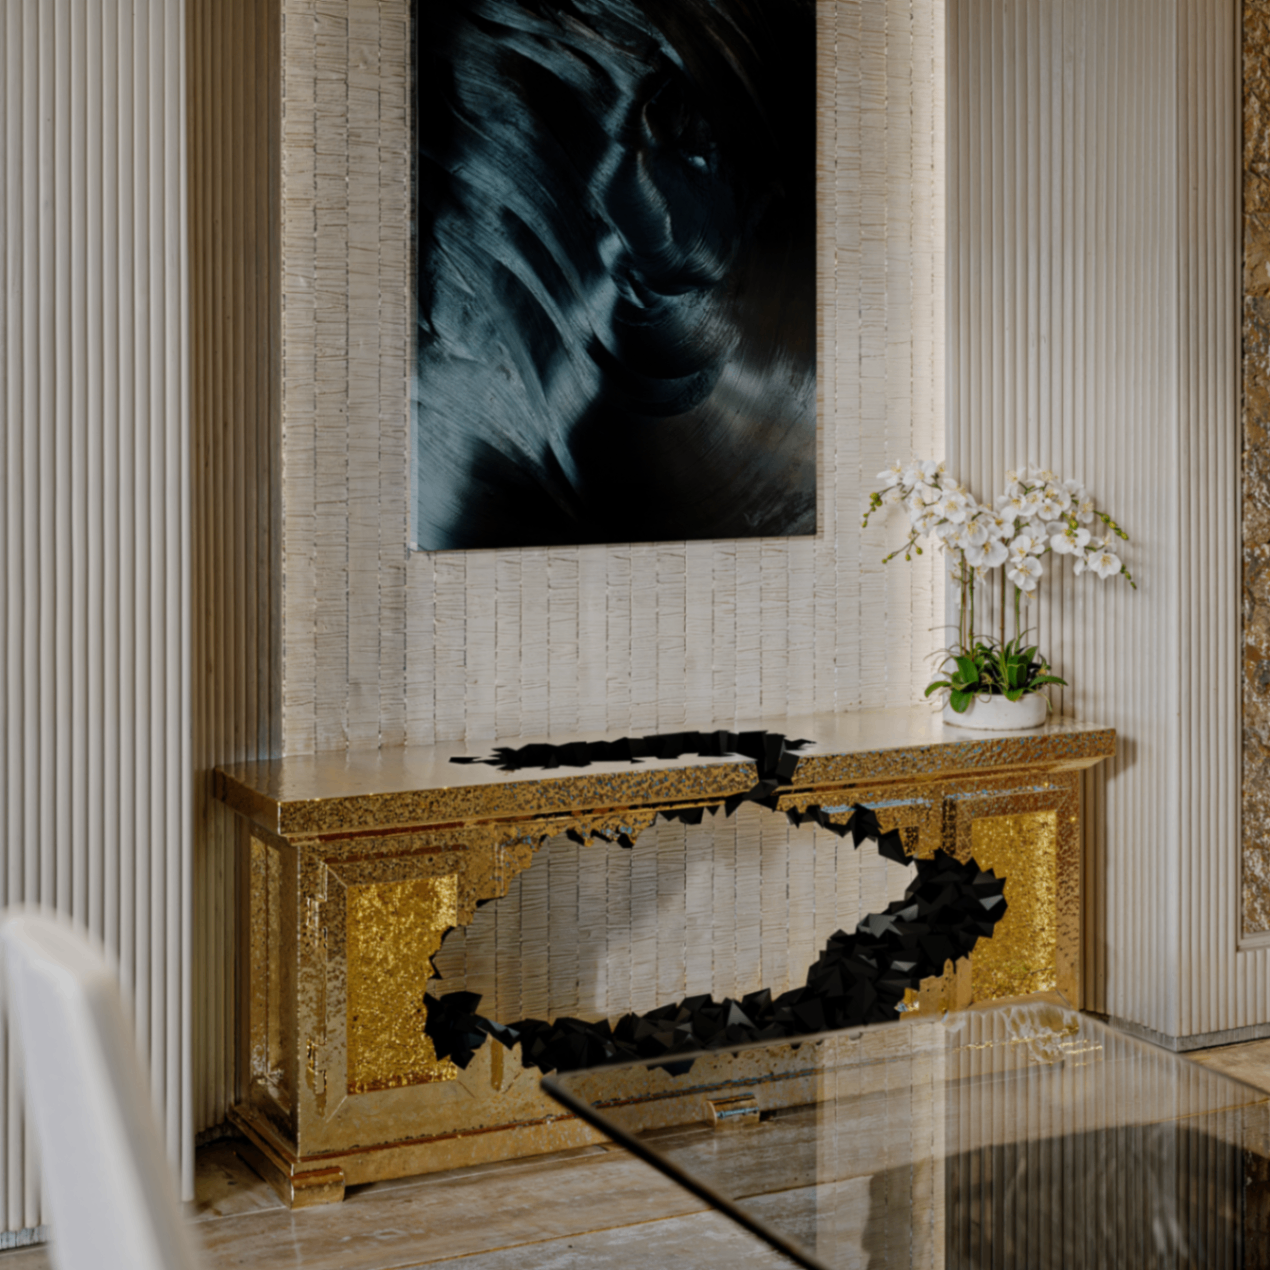
Materials define whether the 3D boat design process ends with a photorealistic frame or a plastic-looking approximation. Every finish — painted hull, teak decking, brushed stainless, carbon-fibre panels, upholstery leathers, veneers — needs physically based settings: correct roughness, reflectance, anisotropy, and normal detail.
For custom builders the process is often collaborative. Paint codes are matched to swatches. Wood grains are aligned to joinery drawings. Metal finishes are checked against hardware samples. The goal is that when the owner compares a physical sample to the render, they see the same object.
Step 4 — Lighting for Open-Ocean Environments
Lighting is where the 3D boat design process becomes cinematic. Open-ocean lighting is unforgiving — the sky and sea produce most of the illumination, so highlights, wet reflections, and horizon interaction have to be physically correct. We build custom HDRI environments for each project, often layering studio-shot skies with matched sea state and haze.
The environment is chosen to match the story: a sportfish against a lively early-morning sea, a cruising yacht in a Mediterranean anchorage at dusk, or a superyacht cutting through open Atlantic swell at golden hour. Lighting choices are made with the builder and designer, not imposed by the studio.
Step 5 — Cameras, Composition, and Hero Frames
Once the vessel and its world are built, the 3D boat design process moves into cinematography. Cameras are set with real focal lengths — 24mm for scale-heavy hero exteriors, 35–50mm for profile shots, 85mm and above for detail studies. Camera heights are matched to sea level, tender height, or drone altitude depending on the intent.
Hero frames are chosen with the sales team in mind: quarter exterior, running profile, aft deck lifestyle, owner's suite, bridge, and one signature detail. These are the images that travel across the brochure, the website, boat show boards, and broker packages.
Step 6 — Cinematic Sea-Trial Animation
For many custom builders, the end of the 3D boat design process is a 60–120 second cinematic sea-trial animation. This is where the vessel is shown moving: a slow bow-on approach, a running quarter, a helicopter-style fly-around, and a stern hero shot as the boat pulls away. The camera choreography is storyboarded before any motion is calculated.
Hull motion is driven by hydrodynamic simulation — the boat heels correctly into turns, pitches on head seas, and produces a wake matched to hull speed and displacement. Water displacement, spray, and foam are simulated rather than stock-composited, so the vessel actually interacts with its environment. The result is a sea-trial film that plays before the boat ever leaves the yard.
Step 7 — Review Rounds and Delivery
The final stages of the 3D boat design process are structured review rounds. Typically the studio delivers a first pass on exterior lighting and materials, a second pass on interior cameras, and a final polish pass across every hero frame and the full animation. Feedback is collected on annotated PDFs so every change is traceable back to the design intent.
Deliverables are packaged for the way the builder actually uses them: print-resolution stills for brochures and boat show boards, web-optimised exports for the website, 4K animation masters for launch events, and social-ready cutdowns for Instagram and LinkedIn.
A Process Built for Boat Builders and Designers
The 3D boat design process is not a single act of rendering. It is a technical workflow — CAD to hull, hull to material, material to light, light to camera, camera to motion — that lets custom boat builders, naval architects, and marine designers show a vessel long before it exists.
See the full yacht & boat rendering service for scopes, deliverables, and review rounds — or brief us on a specific vessel and we will map the 3D boat design process to your build schedule.