Process Guide
Behind the Render: The Superyacht Visualization Workflow
The workflow of superyacht visualization — from first reference to final pixel. A look at how architectural rendering services bring luxury marine design into photoreal clarity.
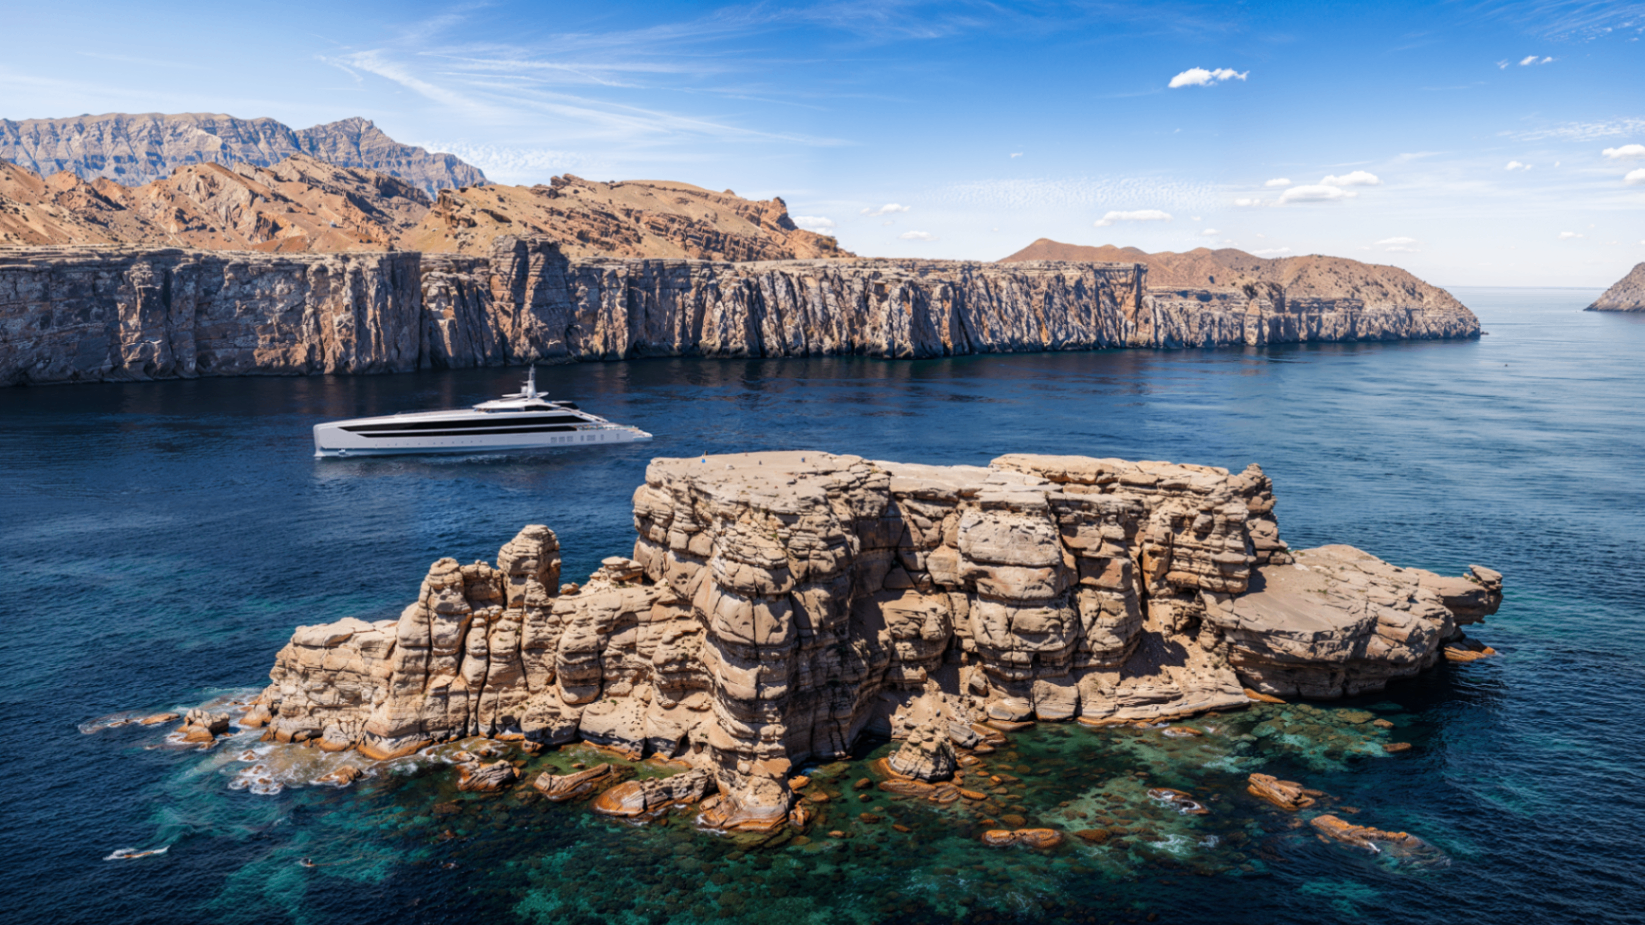
The Obsidian Series — dawn-lit exterior study showing hull geometry, helipad integration, and scale.
A superyacht render is not a photograph that was never taken. It is a decision made visible — every angle, every material, every shaft of light negotiated between the designer's intent and the viewer's eye. Over fifteen years of architectural rendering services for marine and aviation clients, I have refined a workflow that moves from technical rigour to atmospheric storytelling without ever abandoning either.
Stage One: Composition as Narrative
Before modelling begins, the camera position is decided. This is the single most consequential choice in the entire pipeline. A superyacht render must convey scale, elegance, and movement even when the vessel is static. I study the designer's general arrangement plans and exterior lines to identify the silhouette's strongest aspect — the angle where the sheer line, deck overhangs, and superstructure proportions resolve into something coherent.
For the Obsidian Series, the dawn quarter view was chosen because it reveals both the aggressive bow rake and the aft-deck helipad in a single glance. The horizon sits low, allowing the hull to dominate the frame while the sky provides breathing room. Every composition I build follows this principle: the design is the subject, the environment is the stage, and the camera is the invitation.
Stage Two: The Architecture of Light
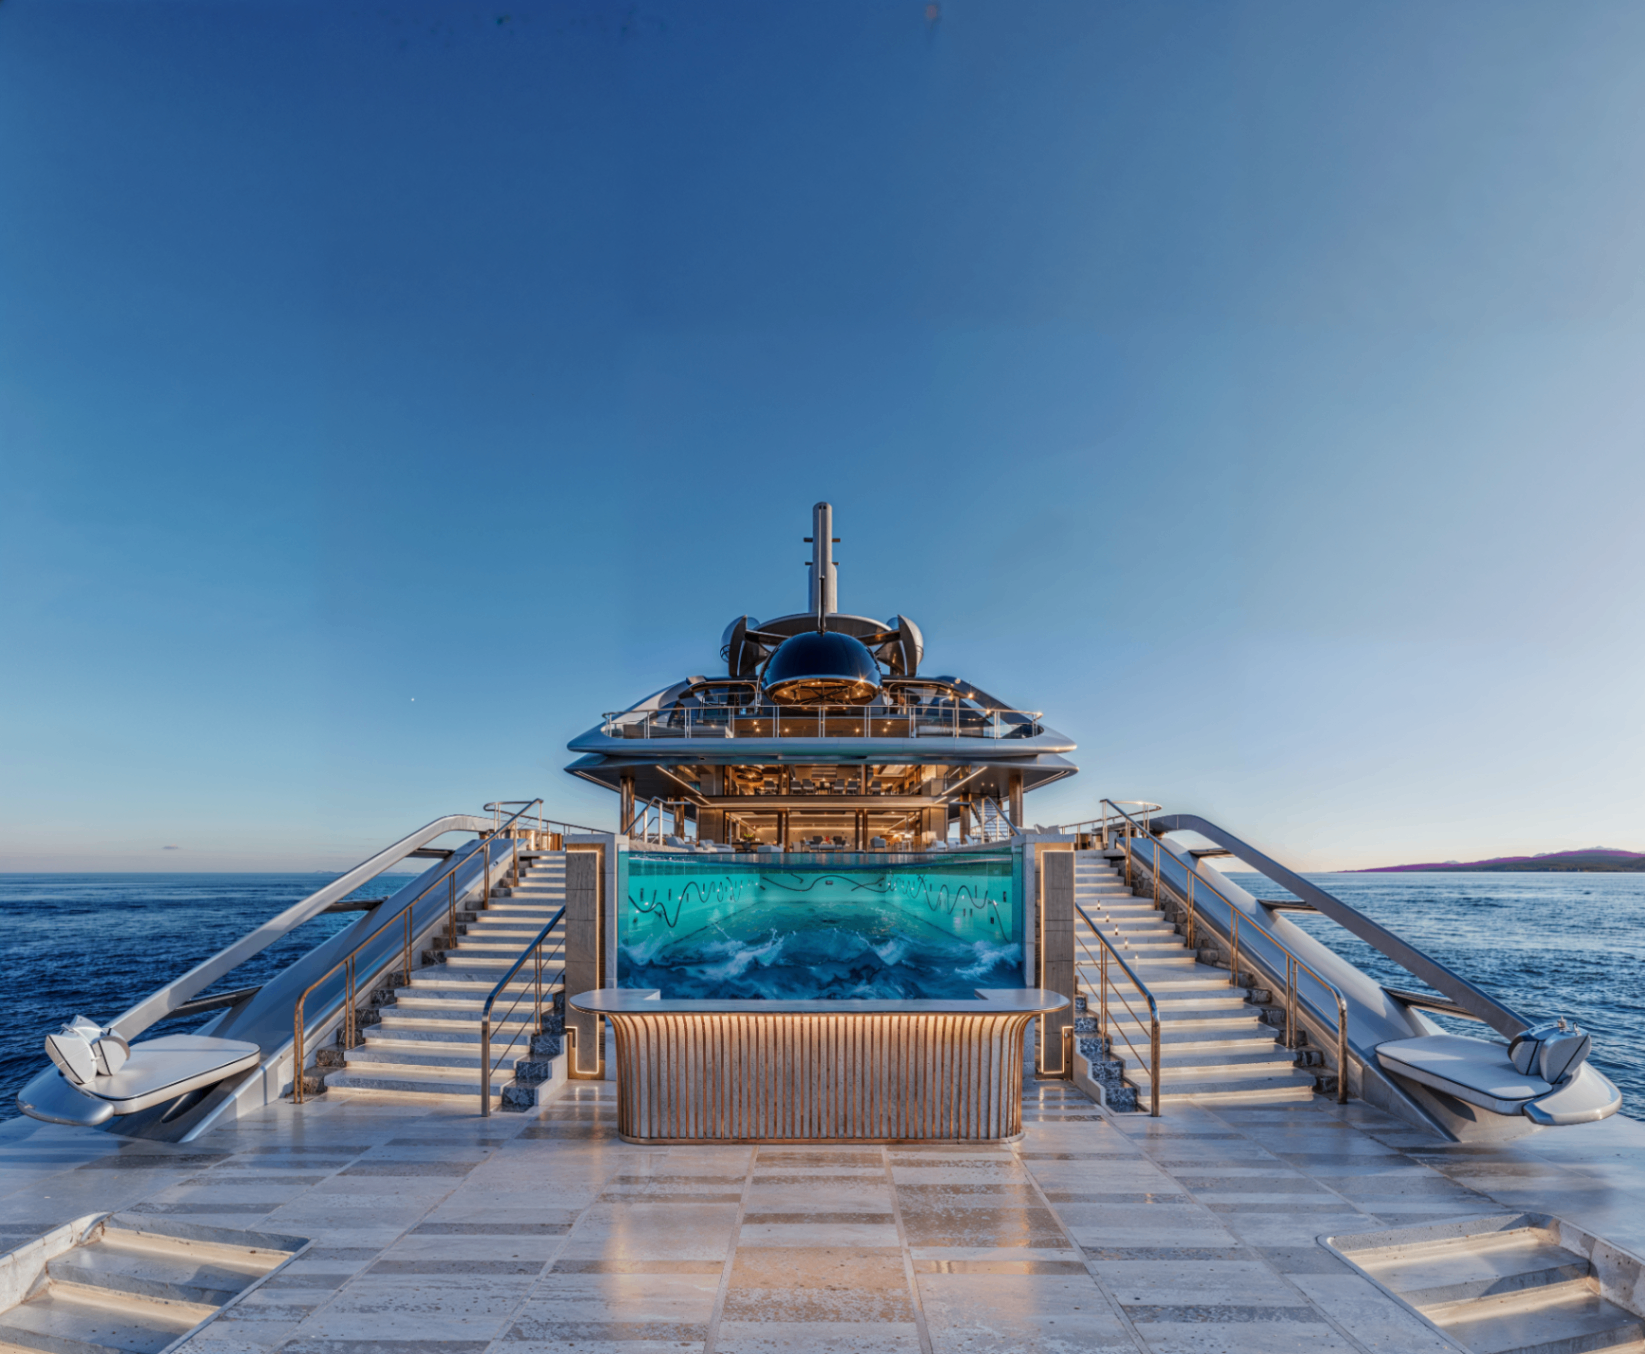
Lighting in yacht visualization is never generic. The same hull can read as aggressive or serene depending on the time of day, the latitude, and the atmospheric haze. I work with HDRI environments captured from real maritime locations — the Mediterranean at 07:00, the Arabian Gulf at golden hour, the Baltic under overcast skies — and then adjust them to serve the design rather than document a place.
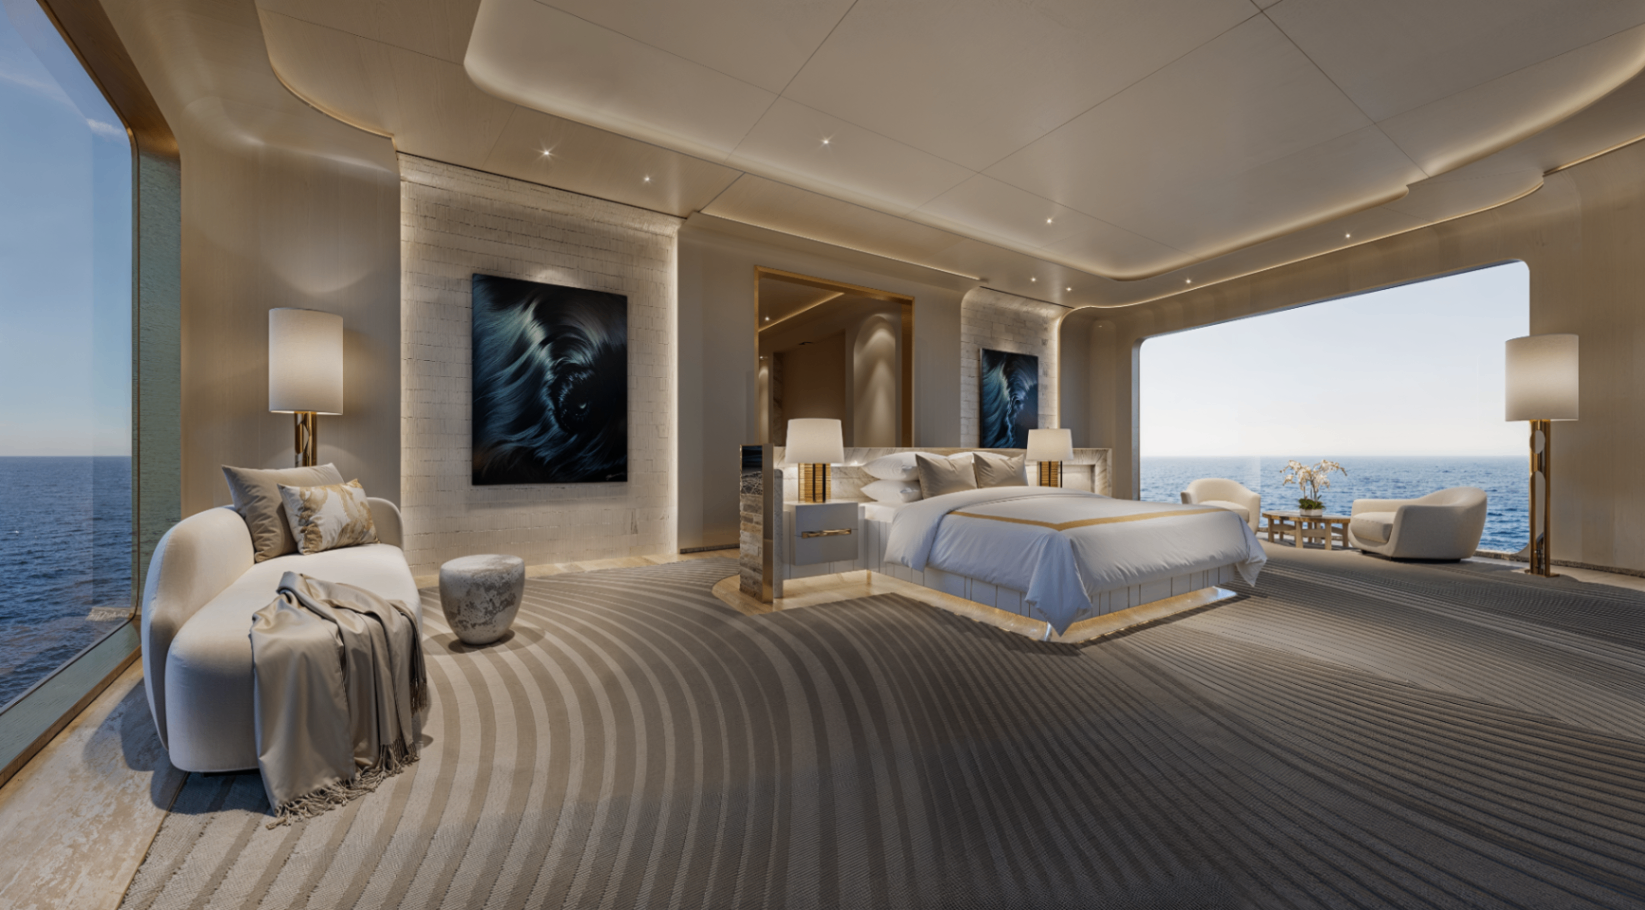
Interior renders demand even more precision. The master suite illumination study below uses a combination of natural light through panoramic glazing, recessed ambient strips, and targeted accent spots. Each source has its own colour temperature and falloff curve. Warm interior light (2700K) competes with cooler ambient daylight (6500K), and the render engine must resolve that tension exactly as the human eye would perceive it.
Stage Three: Materiality and Surface Truth
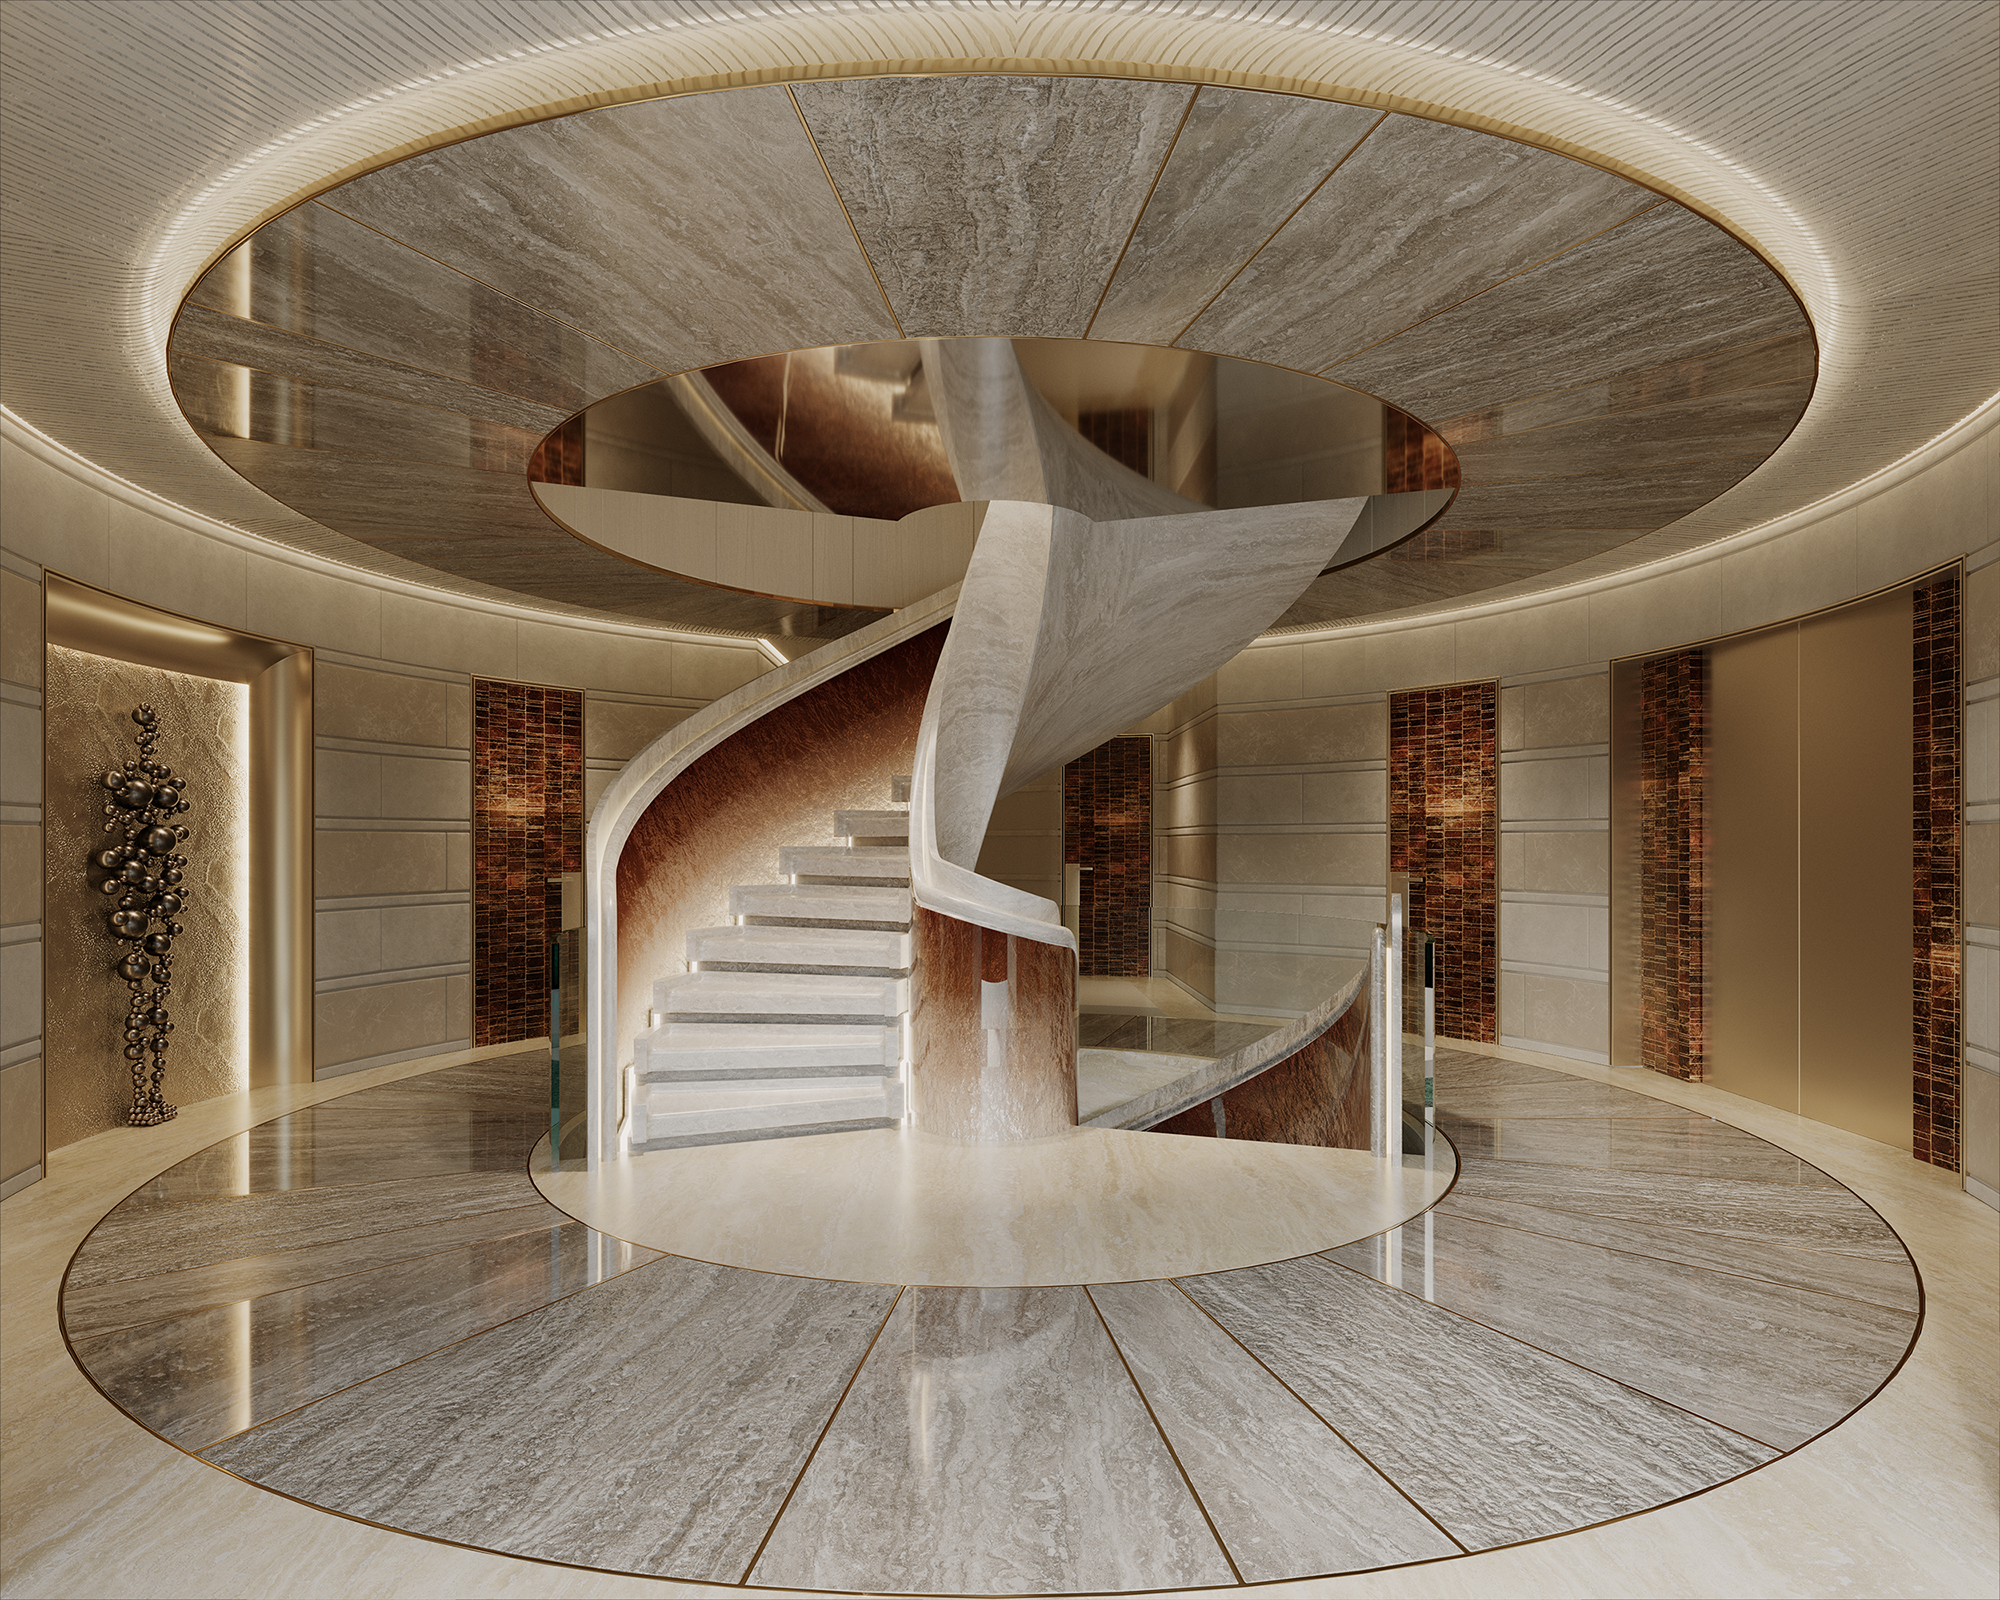
A rendered material is only convincing when it carries the history of its own making. Polished marble is not just glossy — it has subsurface scattering, microscopic pitting, and veining that catches light differently along every edge. Brushed oak has anisotropic reflection: the grain direction determines how highlights stretch across the surface. These are not embellishments; they are the physics of perception.
In the lobby study below, the challenge was glass — not the glass itself, but everything seen through it. A double-height atrium with floor-to-ceiling glazing must show the exterior deck, the ocean beyond, and the interior reflection simultaneously, each at a different exposure and focal plane. The material setup involves IOR (index of refraction) values, thin-film interference for coated surfaces, and carefully tuned Fresnel curves. The result is transparency that feels like architecture, not a missing wall.
Stage Four: Post-Production as Curation
The raw render is never the final image. Post-production is where colour grading, atmospheric depth, and editorial intent converge. I treat each render as a photograph that needs a darkroom: subtle contrast curves to guide the eye, selective sharpening on focal points, and bloom around high-intensity light sources to mimic the way the human visual system responds to brightness.
For marketing imagery, the final grade must align with the client's brand language — warm and inviting for family-oriented explorers, cool and precise for performance-focused designs. The same 3D model can deliver entirely different emotional narratives depending on the post treatment. This is why architectural rendering services for luxury yachts are as much about creative direction as they are about technical execution.
Deliverables and Scale
A typical superyacht visualization project produces between twelve and twenty final images across exterior, interior, and detail views. Each image passes through the full pipeline: composition, modelling verification, lighting, material refinement, rendering, and post-production. For animation work — walkthroughs, fly-arounds, or sea-trial simulations — the same standards apply frame by frame.
The goal is not merely realism. It is trust. When a client reviews a render and recognises their own design intention amplified by light and space, the image has done its work. The yacht does not yet exist, but the decision to build it has already been made.
For a commercial overview, explore our yacht visualization and rendering services, see how that capability is expressed in the Arwen superyacht visualization case study, or review more approved imagery in our CGI portfolio.
Yacht designers, shipyards, brokers, and owners can share a project brief to discuss the right still-image and animation scope.